Painting a room is a straightforward task, but achieving professional results requires the right techniques and tools.
Whether you’re freshening up a room or giving it a complete makeover, knowing how to paint a room like a pro can save time, effort, and frustration.
Proper preparation, selecting the right materials, and mastering specific painting techniques are key to a flawless finish.
In this guide, we’ll walk you through the essential steps, from prepping your walls to applying the perfect coat of paint, ensuring that your next painting project delivers professional-quality results every time.
Get ready to transform your space with the skills and knowledge needed to paint like an expert.
Why Paint a Room?
Painting your walls is about more than just color—it’s about atmosphere, cleanliness, and even perceived space. Here’s why painting matters:
| Benefit | Explanation |
|---|---|
| Aesthetic Appeal | Instantly updates and personalizes a room. |
| Increased Home Value | Fresh paint can make your home more attractive to buyers. |
| Mood Improvement | Color psychology affects how you feel in a space. |
| Room Refresh | Covers scuffs, stains, and aging paint. |
| Protection for Walls | Adds a protective layer against wear and tear. |
Essential Tools and Materials
Professionals don’t just use brushes—they use the right tools for every part of the job. Here’s what you’ll need:
Basic Tools
- Drop cloths or plastic sheeting
- Painter’s tape
- Paint roller and roller frame
- Paintbrushes (angled and flat)
- Paint tray
- Extension pole
- Ladder
Preparation Materials
- Sandpaper or sanding sponge
- Spackling paste
- Putty knife
- Mild detergent or wall cleaner
- Rags or tack cloths
Painting Supplies
- Primer
- Interior paint (latex or oil-based)
- Stir sticks
- Mixing bucket (if combining paint cans)
ALSO READ: How to Create a Balanced Wellness Routine?
Choosing the Right Paint and Finish
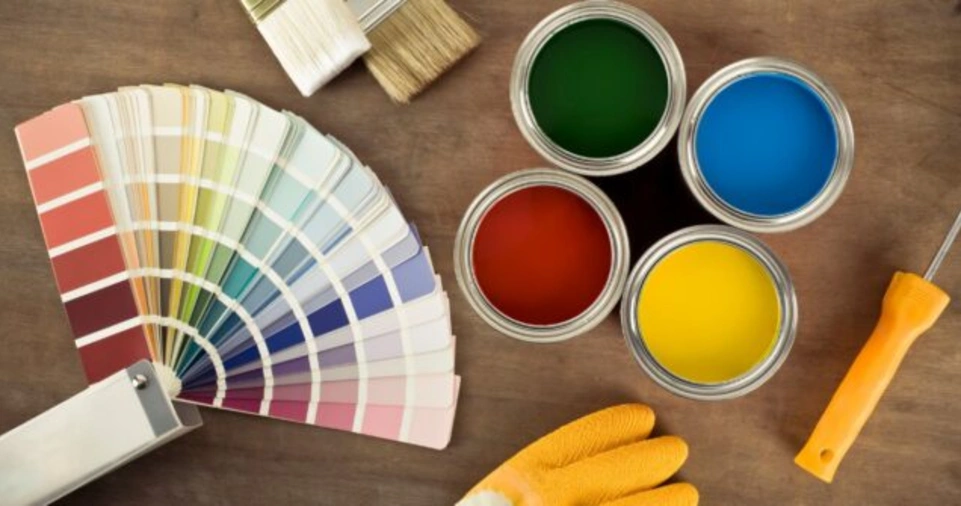
Selecting the right type of paint and finish ensures durability and style.
Types of Paint
| Paint Type | Best For | Features |
|---|---|---|
| Latex (Water-Based) | Most interior walls | Dries fast, easy cleanup, low odor |
| Oil-Based | Trim, moldings, high-traffic areas | Durable, smooth finish, strong odor |
Paint Finishes
| Finish Type | Characteristics | Ideal For |
|---|---|---|
| Flat/Matte | Hides imperfections, non-reflective | Bedrooms, ceilings |
| Eggshell | Slight sheen, easy to clean | Living rooms, dining rooms |
| Satin | Soft sheen, more durable | Hallways, kitchens, kids’ rooms |
| Semi-Gloss | High durability and shine | Bathrooms, kitchens, trim |
| Gloss | Very shiny, washable | Doors, cabinets, detailed trim |
Preparing the Room Properly
Proper prep is the foundation of a professional-quality job.
Steps to Prepare:
- Clear the Room: Remove as much furniture as possible.
- Protect Surfaces: Use drop cloths and cover floors, windows, and fixtures.
- Remove Wall Hangings and Outlet Covers: Take off artwork, outlet covers, and switch plates.
- Ventilation: Open windows and use fans to ventilate the space.
- Lighting: Use extra lighting to ensure you see all imperfections.
Patching, Sanding, and Cleaning Walls
Patch Holes and Cracks
Use a putty knife and spackle to fill in holes, dents, or cracks. Let it dry completely before sanding.
Sand the Walls
Use fine-grit sandpaper (120–150 grit) to smooth the surface. This helps the paint adhere better and gives a polished look.
Clean the Walls
Wipe down with a damp rag or a mild detergent solution to remove dust, grease, or grime.
Taping Like a Pro
Painter’s tape helps achieve those crisp, clean edges.
Tips for Perfect Taping:
- Use high-quality painter’s tape—not masking tape.
- Press the edges firmly with a putty knife to prevent bleed-through.
- Remove tape while the paint is still slightly damp to avoid peeling.
Priming the Walls
Priming is an essential step many DIYers skip—but pros don’t.
When to Prime:
- Changing from a dark to a light color
- Painting over patched or stained walls
- Covering a glossy surface
Types of Primer
| Primer Type | Use Case |
|---|---|
| Latex Primer | Drywall, softwood, new construction |
| Oil-Based Primer | Water stains, smoke damage, wood paneling |
| Stain-Blocking | Covers dark marks, ink, crayon, and mildew |
ALSO READ: How to Create a Simple Grocery List: A Step-by-Step Guide for Smart Shopping
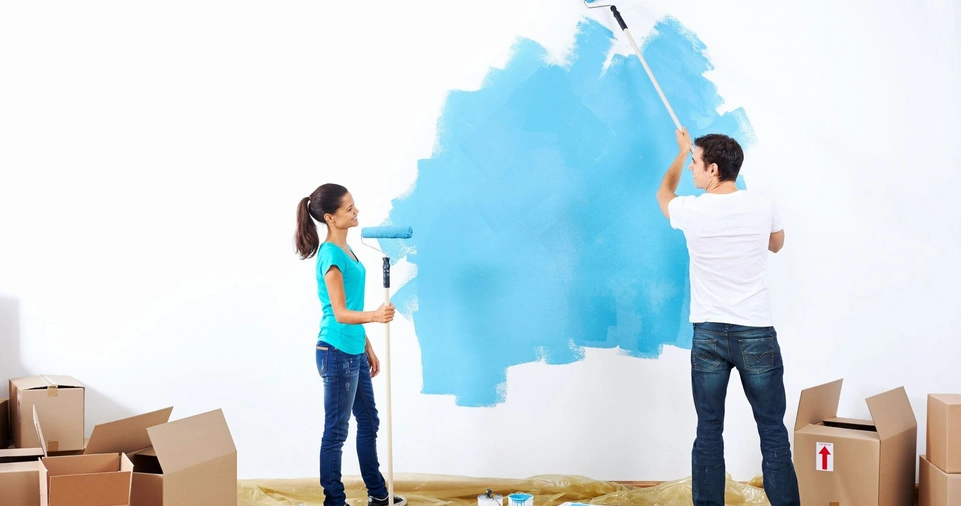
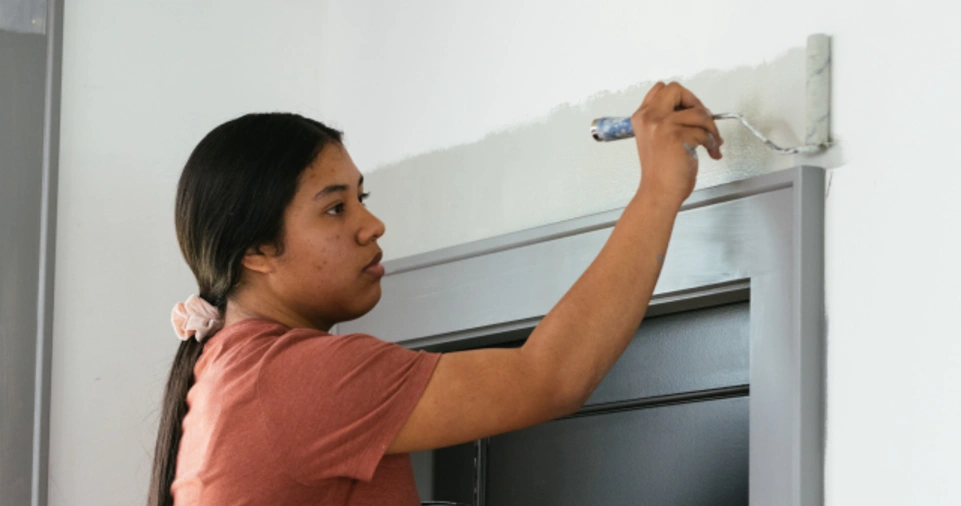
Mastering Painting Techniques
Once prep is complete, it’s time to paint. These techniques separate amateurs from pros.
Cutting In
Use an angled brush to outline edges around ceilings, trim, and corners before rolling.
Rolling Tips
- Use a “W” or “M” motion to distribute paint evenly.
- Don’t overload your roller—drips are hard to fix.
- Roll slowly to prevent splatter.
- Work in 4×4 ft sections to maintain a wet edge and avoid lap marks.
Apply Two Coats
Even high-quality paints often need two coats for full coverage and a uniform finish.
Tips for Trim, Ceilings, and Accent Walls
Painting Trim
- Use painter’s tape to separate trim from walls.
- A semi-gloss finish is best for durability and cleaning.
Painting Ceilings
- Use a thick-nap roller for texture.
- Apply ceiling paint or a flat white for best results.
Creating Accent Walls
- Choose a bold color or a contrasting hue.
- Tape and measure carefully to maintain clean borders.
Common Painting Mistakes to Avoid
| Mistake | Solution |
|---|---|
| Not prepping walls properly | Always clean, patch, and sand first |
| Using low-quality tools | Invest in quality brushes and rollers |
| Skipping primer | Use primer where needed for better coverage |
| Over-brushing or over-rolling | Apply evenly and let layers dry fully |
| Ignoring drying times | Follow manufacturer instructions carefully |
| Painting in poor lighting | Use artificial lighting if necessary |
Cleanup and Disposal
Don’t ruin your hard work by skipping cleanup.
Cleaning Tips:
- Wash brushes and rollers immediately after use.
- Dispose of paint responsibly—check local regulations.
- Store leftover paint in a cool, dry place for touch-ups.
Reattaching Fixtures:
- Replace outlet covers, wall hangings, and hardware once the walls are fully dry.
Bonus: How to Estimate Paint Quantity
Use this formula to calculate how much paint you need:
Formula:
mathematicaCopyEditRoom Area = (Length × Height × 2) + (Width × Height × 2)
Ceiling = Length × Width
1 gallon of paint covers ~350–400 sq. ft.
| Room Size (in sq. ft) | Estimated Paint Needed |
|---|---|
| Small Room (10×10 ft) | 1–2 gallons |
| Medium Room (12×12 ft) | 2 gallons |
| Large Room (15×20 ft) | 2.5–3 gallons |
ALSO READ: How to Plan a Family Budget Together: A Comprehensive Guide for Financial Success
Conclusion
Painting a room like a pro isn’t just about choosing the right color—it’s about taking the time to plan, prep, and apply paint with precision.
By following the steps outlined in this guide, you can transform any room with confidence and quality results.
Remember: successful painting is 80% preparation and 20% execution. From choosing the best paint to using proper tools and techniques, every step matters. Take your time, be patient, and enjoy the transformation.